Recent Posts
View all posts
November 30, 2025 • Lockhead
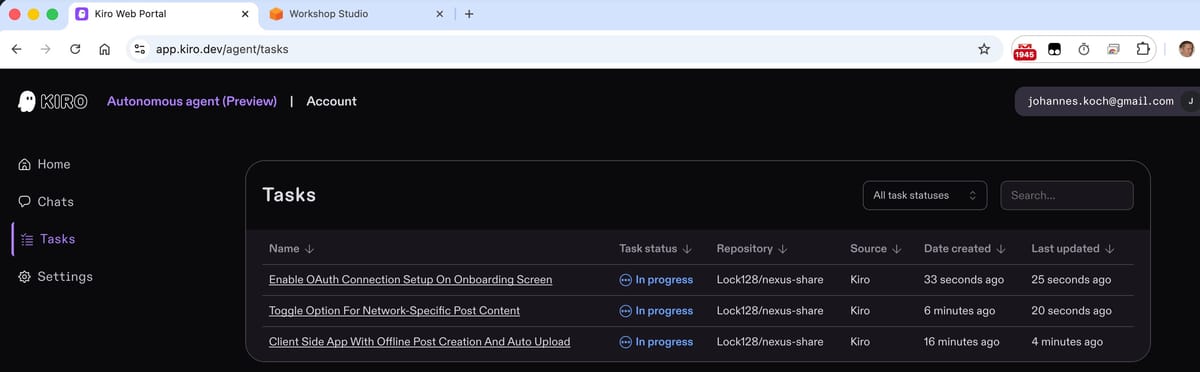
pre:Invent 2025 - Why Kiro is so important for AWS
It's pre:Invent 2025 - Why Kiro is so important for AWS
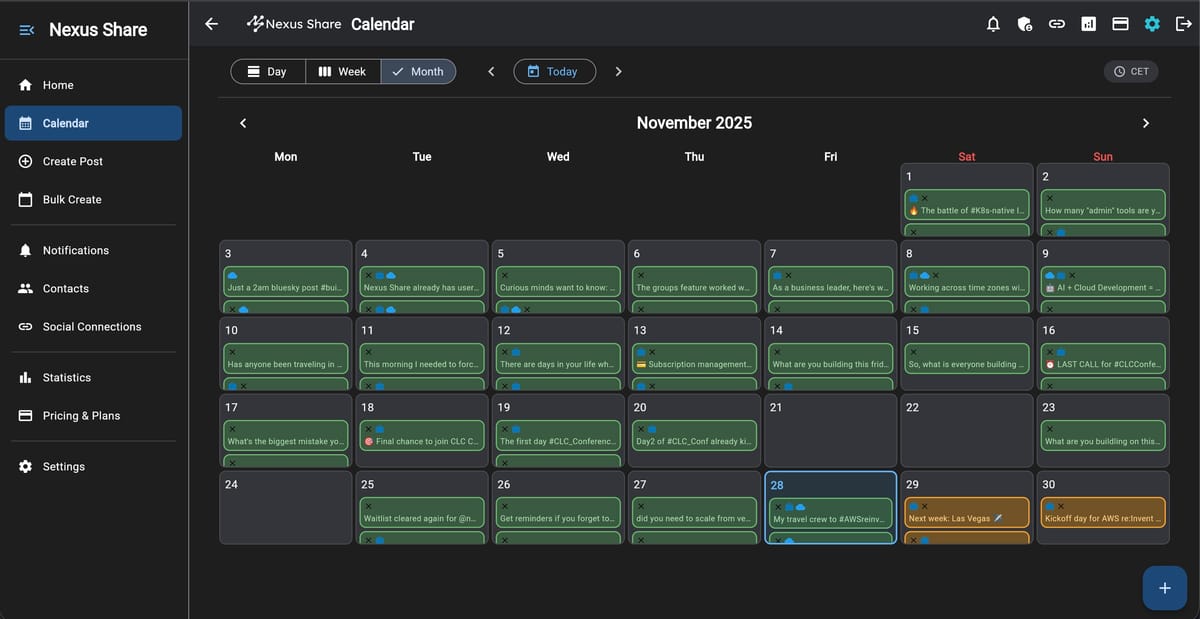
November 28, 2025 • Lockhead
Building 'Nexus Share' with Kiro and Q Developer
Subscribe to my Newsletter
Stay updated with the latest articles and news. No spam, I promise!