June 19, 2026 • LockheadKiro Mobile application on iOS - coding from your phoneAWS finally shipped what I built in a weekend — and it's actually good#eks#devops#aws#building#oss#ai#kiro#ios#mobileRead more
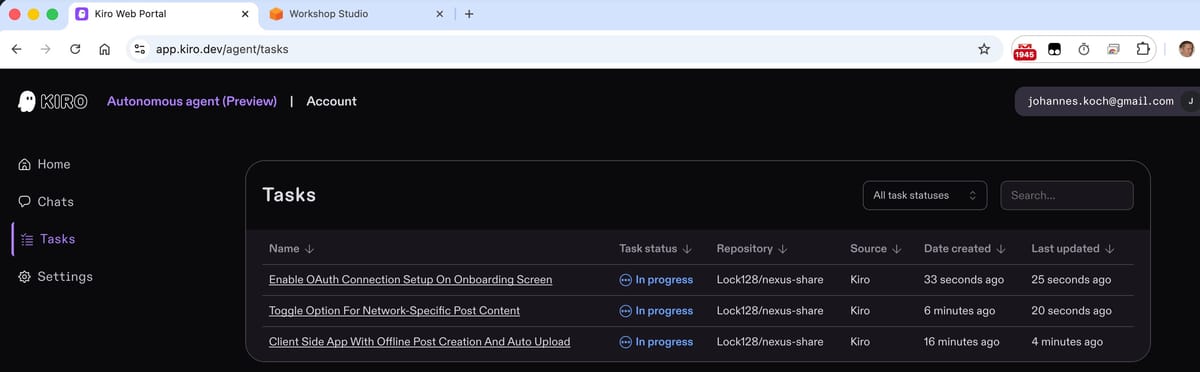
March 19, 2026 • LockheadA mobile UI for Kiro Autonomous Agent (KAA)Building what AWS couldn't build in 3 months in 12 hours#eks#devops#aws#building#oss#ai#kiroRead more
January 13, 2026 • LockheadI don't need an autonomous agent - I need a team mate that grows with meI don't need an autonomous agent - I need a team mate that grows with me#eks#devops#aws#building#oss#aiRead more
November 30, 2025 • Lockheadpre:Invent 2025 - Why Kiro is so important for AWSIt's pre:Invent 2025 - Why Kiro is so important for AWS#api#cicd#devops#aws#serverless#buildingRead more
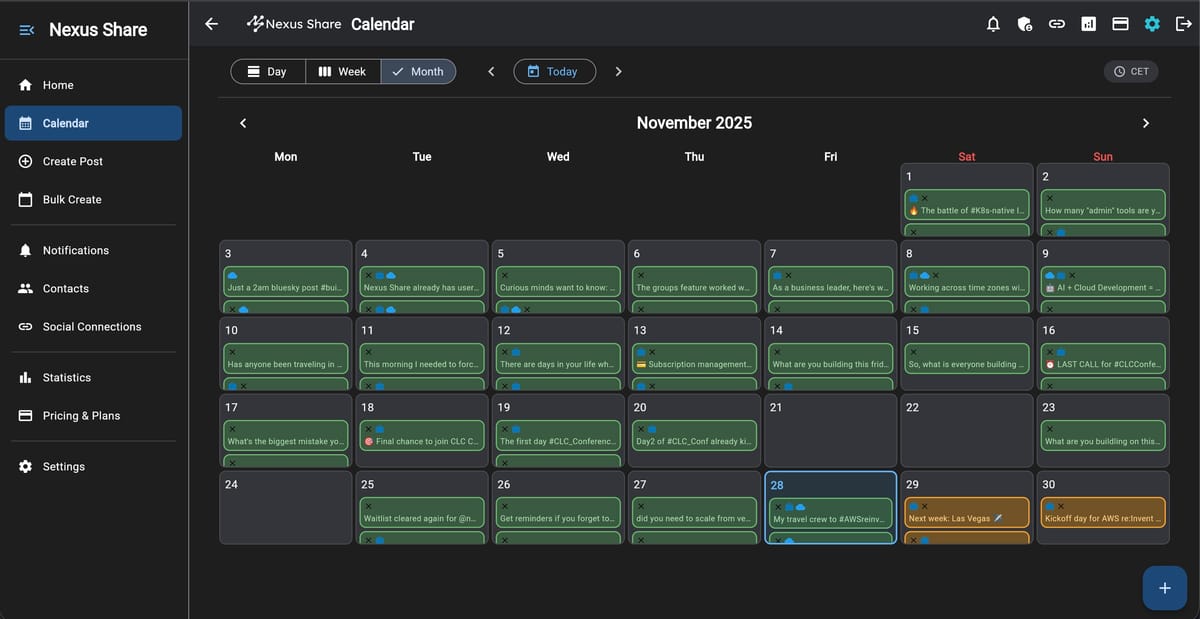
November 28, 2025 • LockheadBuilding 'Nexus Share' with Kiro and Q Developer#social#social-media#devops#aws#serverless#mobile#cross-platformRead more
August 31, 2025 • LockheadKiro - AWS's Agentic AI IDE: The good, the bad and the ugly end of august 2025#api#agentic-ai#devops#aws#serverless#aiRead more