Both Christian and I have been writing about our “Football Match Center” project – and as part of this project we obviously also needed a CI/CD (Continuous Integration and Continuous Deployment) pipeline. Our aim was to be able to integrate changes that we do regularly and see commits to the main branch being directly and automatically deployed to our environments.
I will first try to define some pre-requisites and then talk about learnings and experiences.
What is a mono-repo
A mono-repo is an abbreviation of a “mono repository” which I understand as being a single repository, where different microservices or components are stored and saved in the same git repository. This can be various different services, infrastructure or user interface components or backend services.
A mono-repo has special requirements when building the CI/CD pipeline.
Expectations for our CI/CD pipeline
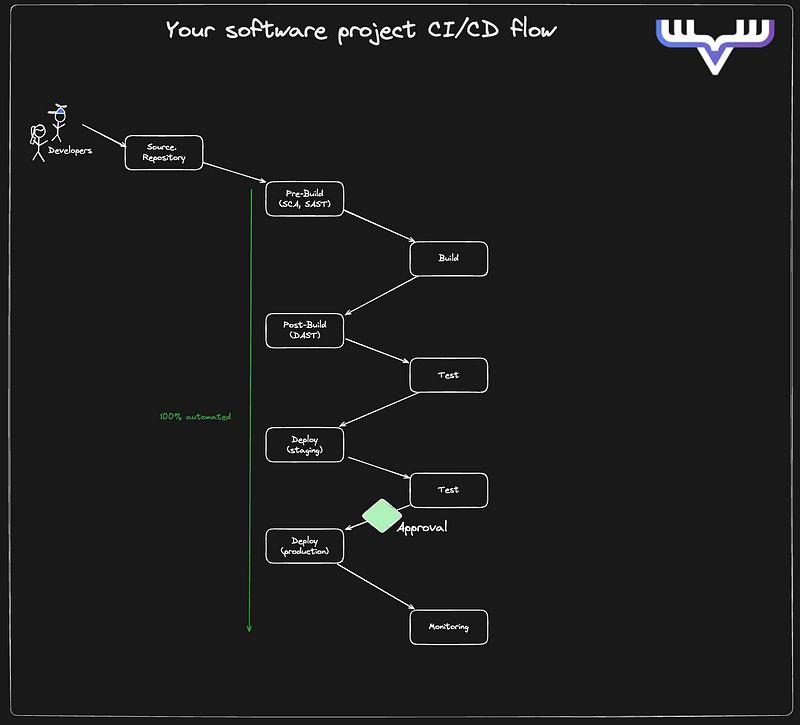
For our CI/CD pipeline we wanted to be able push changes to production quickly and be able to iterate fast. We wanted to achieve 100% automation for everything required for our project. As we have been writing, we completely develop this project using Amazon CodeCatalyst and thus the pipeline also should be build using the Workflows in CodeCatalyst.
Going forward we want to ensure that the pipeline also includes all CI/CD best practices as well as security scans and automated integration or end to end tests.
How to structure your pipelines
In this article we will purely focus on the CI/CD pipeline for your “main” or “trunk” branch – the production branch that will be used to deploy your software or product to the production environment.
We will not consider pipelines that should be executed on feature branches or on pull request creation.
The “one-pipeline-to-rule-them-all” approach
In this approach all services are deployed within the same pipeline. This means that there is only a single pipeline for the “main” branch. All services that are independed rom each other can deployed in parallel, services that have a dependency need to be deployed one after another. Dependencies or information from one to another service can be pushed through the pipeline using environment variables.
This can lead to longer deployment/execution timelines but ensures that “one commit” to this “main” branch is always deployed completely after a commit. If tests are included in the pipeline, they will need to cover all aspects of the application.
The “context-specific” or “component-specific” approach
Different components or contextes get a different pipeline – which means that e.g. the backend-services are deployed in one pipeline and the frontend-services in a different pipeline.
In this approach, you automate the deployments for components and need to ensure that, if there are dependencies between the components, the pipeline verifies the dependencies. If one component requires information from another one you need to pass these dependencies using other options.
This can lead to faster iteration cycles for specific components but increases the complexity of the pipeline dependencies. You can also do not directly see if a specific commit has been deployed for all components or not.
The “one-pipeline-for-each-service” approach
This is the most decoupled option for building a CI/CD pipeline. Each service (lambda function, backend, microservice) gets its own pipeline. For each service, you can implement service specific steps as part of the pipeline.
One of the main requirement for this is that the services are fully decoupled, otherwise managing dependencies can get very difficult. However, this allows a very fast iteration and development cycle for each microservice as the pipeline execution for each service is usually very fast.
The pipeline needs to verify the dependencies for each service as it executes the deployment.
Football Match Center – our experiences with building our CI/CD pipeline in Amazon CodeCatalyst
For our project we decided to start with a “mono-repo” – in our case today, we have a CDK application (written in Typescript) that describes the required infrastructure and includes Lambda functions (where required) and a user interface which is written in Flutter.
From a deployment perspective, the CDK application needs to be deployed on AWS and the Flutter application then needs to be deployed on a S3 bucket to serve as a Single Page Application (SPA) behind Cloudfront. Obviously this deployment/upload has the pre-requisite of the S3 bucket to be already available.
How we started
We started, very classic, with the “one-pipeline-to-rule-them-all” approach. We had one single pipeline that was used to deploy all services that are part of the infrastructure.
This pipeline started with “cdk synth” using the “CDK deploy” action in CodeCatalyst and then had other steps that depended on the first one – to executing the “flutter build” and later the “UI deploy” (using the S3 deploy action).
In this first version, the CDK deploy step had variables/output with the name of the S3 bucket and the CloudFront distribution ID passing it it to the next step where the output of “flutter build” was then uploaded and the CloudFront distribution invalidation request was triggered.
In this approach a commit to the “main” branch always triggered the same pipeline and this pipeline deployed the complete application.
We also used only natively available CodeCatalyst actions for deployment – “cdk deploy” and “build”. For the Flutter action we used a Github Action for flutter.
Experiences and pipeline adjustments
With this approach we had the problem that the Flutter build step took ~8 minutes and blocked a new iteration of changes in the CDK application or the lambda function. Thus, this slowed down our development cycle.
In addition to that we found out that there was no possibility to influence the CDK version with the CDK deploy action – but we wanted to be able to use the version defined in our Projen project – to be able to deploy to development environments from our local with the same version as from the CI/CD pipeline.
Both of these findings and experiences brought us to implement some changes to the pipeline:
- We separated the UI build from the CDK build
- We moved away from using “cdk deploy” and replaced it with a “build” step – to be able to trigger “projen” as part of the pipeline
So now we have two pipelines:
- CDK deployment
- Triggered on changes to the “cdk-app/*” folder
- Executing CDK synth, build and deploy steps – but not using the “cdk deploy” action but a normal build step instead
- We adjusted the CDK app to include Cloudformation exports that exports the S3 bucket name and the Cloudfront distribution ID
- Triggered on changes to the “cdk-app/*” folder
- Ui deployment
- Triggered on changes to the “ui/*” folder
- Reads the values for the S3 bucket and the CloudFront distribution ID from the CloudFormation exports using the AWS cli
- Executing the Flutter build steps and the S3 deploy action
These changes reduced in faster iterations for the development cycle of the CDK app and allowed decoupling the backend from the UI part. We were also able to fix the CDK version to the version we have selected in Projen.
In our project we have chosen the “context-specific” approach for the pipeline.
My recommendations for building CI/CD pipelines for a mono-repo
Our CI/CD pipeline is not perfect yet and we’re yet to add some important things to our pipeline.
From the experiences we have made I am still not convinced that our “context-spefic” approach is the right path.
As of writing this post in early April 2023 I’m inclined to move towards a model where we combine the “context specific” and the “one-pipeline-to-rule-them-all” approach: context-specific for “lower”, non production environments and then a single pipeline that does the promotion to our production environment.
Today we do not yet have a production environment, so we did not answer that question yet 🙂
How do you solve this challenge around building CI/CD pipelines for mono-repos?
Views: 494
One thought on “Pipeline strategies for a mono-repo – experiences with our Football Match Center projects in CodeCatalyst”